
 EN
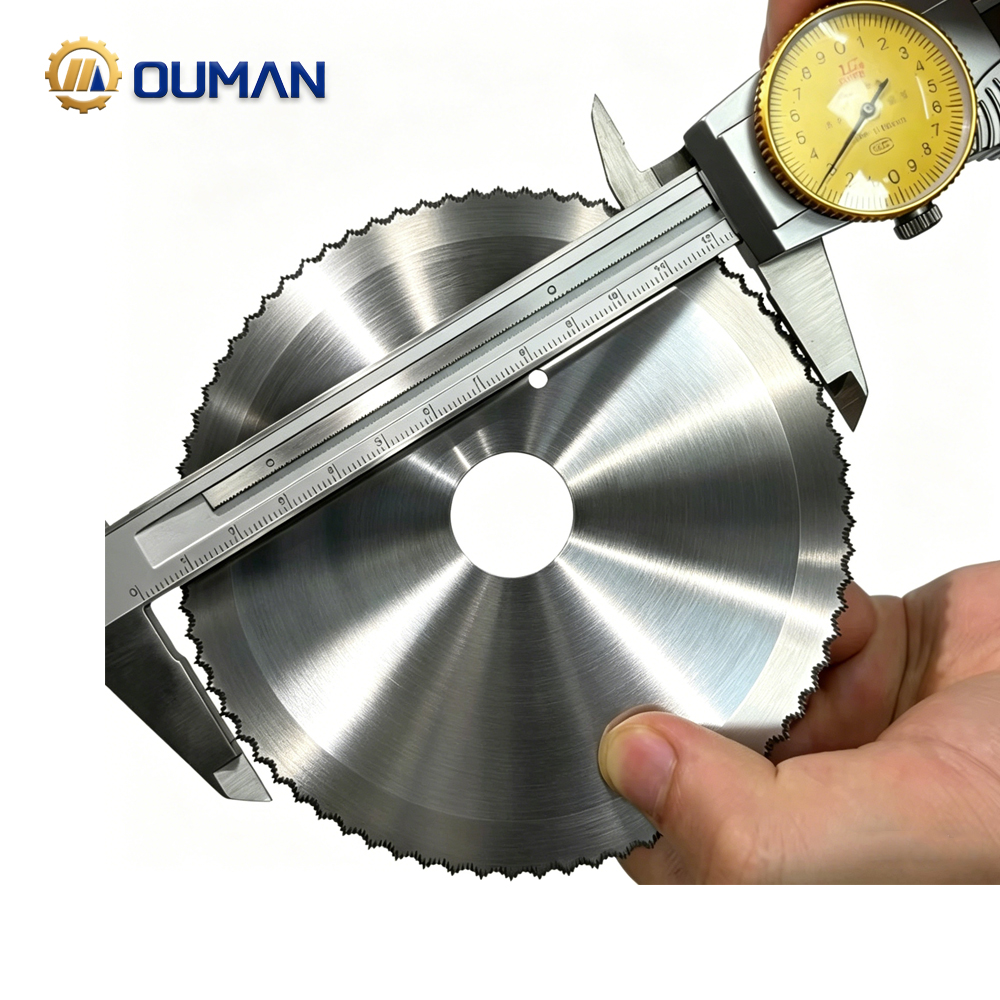
When and Why to Sharpen Circular Blades
A sharp circular blade cuts faster, safer, and with less strain on the saw motor. Dull edges force operators to push harder—increasing kickback risk, burn marks, splintering, and inaccurate cuts. Timely sharpening restores clean cutting edges, reduces material waste, and extends blade life. For carbide-tipped blades—where replacement costs significantly more than a precision regrind—regular sharpening is often the most cost-effective maintenance strategy.
Common signs that a circular blade needs attention include increased feed resistance, burn marks or unusually fine/abundant sawdust, rounded or uneven teeth, and unusual noise. Blades that grab, skip, or bind mid-cut are no longer cutting cleanly and should be sharpened before further use. As a general guideline, many woodworking blades benefit from sharpening after 15–20 work hours—or after 30–50 cuts in hardwoods. Early, consistent sharpening prevents deep wear and preserves tooth geometry, so each session removes only a minimal amount of carbide or steel.
Essential Safety and Preparation for Circular Blade Sharpening
Before sharpening circular blades, always disconnect the saw from power or remove the battery. A controlled setup reduces injury risk, blade damage, and dust exposure.
Pre-sharpening inspection: detecting cracks, warping, missing teeth, and carbide wear
Place the blade under bright light and inspect every tooth and the plate surface. Look for hairline cracks, warping, visible wobble, missing or bent teeth, and rounded or chipped carbide tips. Small edge chips can often be restored, but cracks, warped plates, or missing teeth typically require replacement—not resharpening. Worn carbide tips may appear shiny, rounded, or chipped under direct light. Mark one tooth as a starting point to ensure consistent, complete coverage without skipping or double-working any tooth.
Critical safety protocols: PPE, blade stabilization, and dust/respiratory control
Wear Level 5 cut-resistant gloves, ANSI Z87.1-rated safety goggles, and an N95 mask or reusable half-face respirator. Clamp the blade firmly in a vise or dedicated workbench fixture to prevent rotation or shifting. File away from your body and keep your free hand clear of the tooth line. Avoid loose gloves or long sleeves that could catch in the teeth. Work in a well-ventilated area, and remove metal dust from the bench and blade with a brush or HEPA vacuum after each pass to maintain grip and visibility.
Preserving Tooth Geometry While Sharpening Circular Blades
For circular blades, consistent tooth geometry matters as much as edge sharpness. Even a small deviation in hook, bevel, or clearance angle can cause binding, wandering, or overheating. Before sharpening, record original angles using a protractor or digital angle gauge—and replicate them precisely.
Maintaining hook angle, bevel angle, and clearance angle for optimal cut performance
The three working angles govern cut behavior:
- Hook angle (typically 10°–20° positive on general-purpose blades) controls how aggressively the tooth enters the material.
- Bevel angle (often 15°–25° on top or side grind) directs chip flow and balances edge strength.
- Clearance angle (usually 10°–15°) prevents the tooth heel from dragging and generating friction.
When using a diamond file or wheel, move parallel to the original bevel—not perpendicular to the plate. If any angle drifts more than 1°–2°, the blade may pull, overheat, or cut inaccurately. Check every third tooth during sharpening; inconsistent shine patterns indicate angular inconsistency and signal the need for correction.
Jointing and tooth setting: ensuring roundness, consistent set, and alignment accuracy
After reshaping angles, lightly joint the tooth tips using a fine flat stone or diamond jointing stick. This reveals height discrepancies by contacting only the highest teeth. Correct high spots with controlled strokes, then verify uniformity with a dial indicator or flat reference surface. Tooth set—side-to-side offset—is critical only on blades designed with it; most carbide-tipped blades rely on plate clearance instead. If set is required, use a calibrated saw set—not a hammer or pliers—to avoid over-setting or breaking teeth. Rotate the blade fully and mark the first tooth to prevent duplication. Uniform height and set reduce vibration, fatigue, and tear-out.
Professional-Grade Sharpening Techniques for Circular Blades
File vs. diamond wheel: selecting the right tool for steel and carbide-tipped circular blades
Use a fine-cut mill file for carbon steel circular blades—it removes material gradually while preserving geometry. Carbide-tipped blades demand a different approach: carbide’s hardness exceeds that of standard files, making hand filing ineffective and potentially damaging. Professionals use a diamond wheel mounted in a dedicated blade sharpening machine. Its precision indexing ensures each carbide tip is ground to exact specifications—maintaining hook, bevel, and clearance angles without distortion. Match the tool to the blade: mill file for steel, diamond wheel for carbide. Never attempt freehand sharpening with an angle grinder—it lacks control and risks catastrophic geometry loss.
Avoiding heat damage, glazing, and micro-fractures during carbide sharpening
Carbide grinding generates intense localized heat. Excessive heat can soften the brazing alloy holding the carbide tip—and induce micro-fractures that compromise tooth integrity. Limit grind depth to 0.001–0.002 inches per pass. Use a diamond wheel with appropriate grit (typically 120–180 for shaping, 220+ for finishing) and apply coolant when possible. Glazing—a shiny, hardened surface layer caused by a loaded or dull wheel—reduces cutting efficiency and increases heat buildup. Dress the wheel regularly with a silicon carbide dresser, or replace it if cutting slows noticeably. Allow the blade to cool between passes to preserve carbide structure and brazing strength.
FAQs
How do I know when my circular blade needs sharpening?
Signs include increased feed resistance, burn marks, rounded or uneven teeth, unusually fine or abundant sawdust, and unusual noise. Blades that grab, skip, or bind mid-cut also indicate the need for sharpening.
What safety gear should I use while sharpening circular blades?
Wear Level 5 cut-resistant gloves, ANSI Z87.1-rated safety goggles, and an N95 mask or reusable half-face respirator. Ensure the blade is stabilized in a vise or workbench fixture to minimize movement.
Can I use a regular file for carbide-tipped blades?
No, carbide-tipped blades require a diamond wheel for sharpening due to carbide’s hardness. Using a regular file may damage the blade.
What are the critical angles to maintain while sharpening?
Hook angle, bevel angle, and clearance angle are essential. Deviations in these angles can result in inaccurate cuts, overheating, or binding.
How can I avoid overheating the carbide tips during sharpening?
Limit grinding depth to 0.001–0.002 inches per pass, use an appropriate diamond wheel grit, and apply coolant if possible. Allow the blade to cool between passes.